Fixing DNS for Wireguard on MacOS
Fix wireguard DNS resolution on MacOS with PostUp and PostDown + CLI usage.

If you are using the Wireguard MacOS App with your VPN's, you will notice that your custom DNS entries are not getting set at the system level.
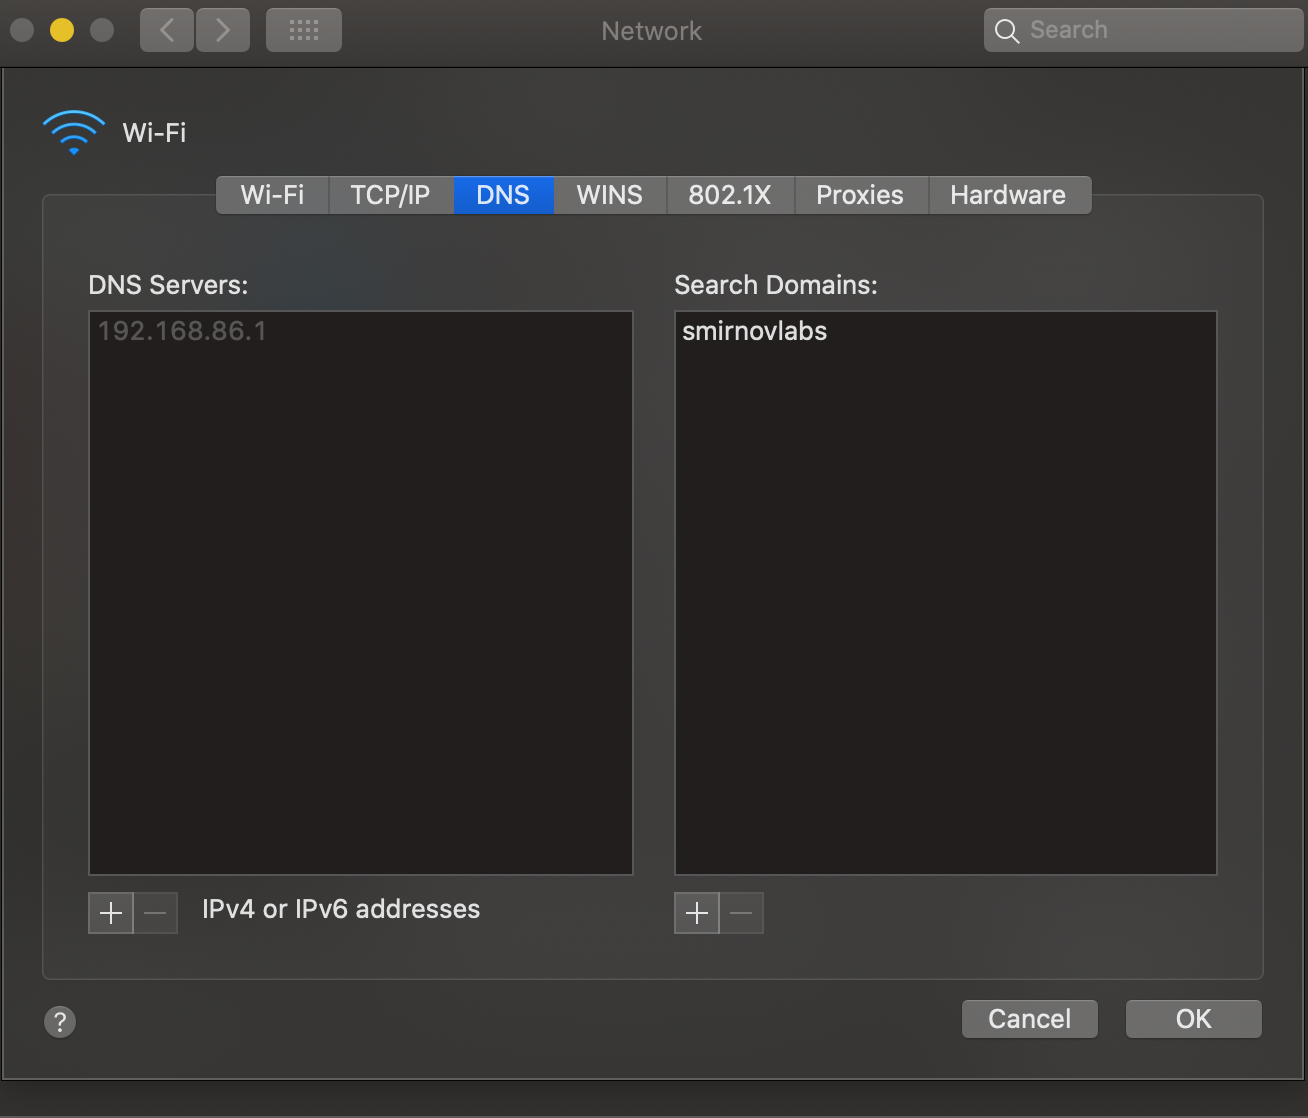
You can manually edit Network Preferences -> Wi-Fi -> Advanced -> DNS and add your DNS server, but that will cause DNS errors if your VPN drops and your system DNS still points to the wireguard DNS instance.
A workaround is to add a PostUp and PostDown option to your wireguard config:
[Interface]
Address = 10.200.200.1/24
ListenPort = 51820
PrivateKey = SERVER_PRIVATE_KEY

# DNS server
DNS = 10.66.66.1

# Commands to set and clear DNS
PostUp = sudo /usr/sbin/networksetup -setdnsservers Wi-Fi 10.66.66.1
PostDown = sudo /usr/sbin/networksetup -setdnsservers Wi-Fi "Empty"

[Peer]
# foo
PublicKey = PEER_FOO_PUBLIC_KEY
PresharedKey = PRE-SHARED_KEY
AllowedIPs = 10.200.200.2/32The wireguard GUI will not read the PostUp and PostDown, so you will have to run your wireguard commands from the command line.
Solution: Use the CLI
First, install the tools:
brew install wireguard-tools wireguard-goThen, save your config to the folder:
vim /usr/local/etc/wireguard/myvpn.confFinally, launch your VPN - using the same name as the conf file.
sudo wg-quick up myvpnBonus: Alias/Visudo
You can set up an alias with alias vpnup='sudo wg-quick up myvpn'
If you don't want to enter your password each time, simply run sudo visudo -f /private/etc/sudoers.d/wireguard and paste the following contents, replacing myuser with your username.
myuser ALL = (root) NOPASSWD: /usr/local/bin/wg-quick